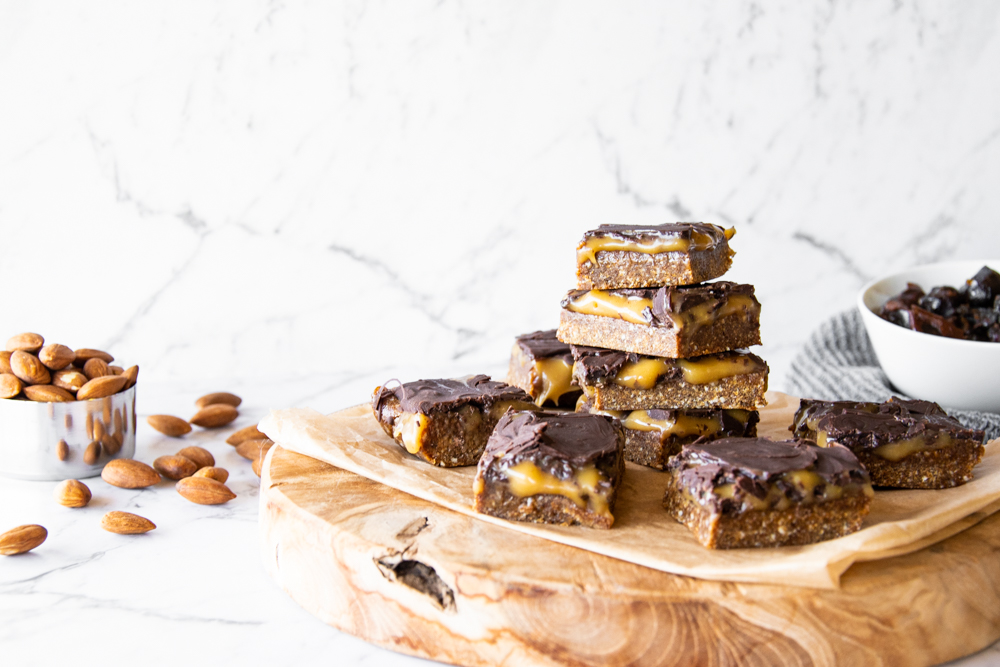
No Bake Choc Squares
With our fast paced lifestyles these days, time is valued greatly. This is a perfect recipe for busy people, who don’t have much time to spare in the kitchen. The result is delicious, nutritious and a perfect lunch box treat!
 With only a handful of ingredients, these No Bake Choc Squares won’t break the bank, or take up much of your time creating them.
With a base of nuts and dates, you really have the option of adding any other favorable ingredients you wish, making this recipe so versatile. I must say this combination of flavors is really tasty, and they are surprisingly fulling and quite energizing. Perfect for a mid morning or mid afternoon pick-me-up. They are incredibly healthy, so no guilt needed, making them one of my favorite recipes.
They are refined sugar free, are low GI, and contain carob for the chocolate taste, which is a great caffeine free alternative to raw cacao, making them suitable for Type 1 Diabetics and kiddies. It’s a win/win all round!
Ingredients
- 1/2 Cup Raw Almonds (Soaked for at least 6 hours)
- 1/2 Cup Walnuts
- 1/2 Cup Pecans
- 1/2 Cup Rolled Oats
- 1 Cup Dates ( Preferably Medjool as they give the squares a chewy and caramel like texture, but regular dates will work just as well)
- 2 TBS Carob powder
- 1 TBS Coconut Oil (Preferably Organic Cold-Pressed)
- 1/2 Tsp Himalayan Rock Salt
Recipe
Start by rinsing your almonds and placing them in your food processor. Give them a few high pulse blitz to break them down a bit. Then add the remaining nuts, oats, carob powder and salt. Blitz until all combined.
Next you’ll want to add your coconut oil and your dates. If your using regular dates, then I’d suggest soaking them in hot water for a few minutes, just to help soften them up a bit. Medjool dates are already soft so they can go right in. Now your coconut oil is what’s going to help bind your ingredients, and help them to stay firm when refrigerated. If you find your mixture is too dry, try adding more coconut oil, teaspoon at a time. It really can go quite far.
So once all your ingredients are in, pulse the food processor to combine everything, and blend until you’re happy with the texture. Some people prefer a smooth texture, and some a chunky one, it’s totally up to you.
In a greased (with coconut oil) baking dish (or mold of your choice), place all ingredients and with the back of a tablespoon, start to level out the mixture and press firmly together, into all corners. Once pressed down, place in the fridge for about an hour to set, and that’s it! Done and dusted! How easy was that?
 Remember to share or pin this recipe if you liked it. Leave a comment below should you have any questions/suggestions, etc 🙂


